Showing posts with label activities for kids. Show all posts

More toy library love

I LOVE our toy library!

Check out our latest finds:

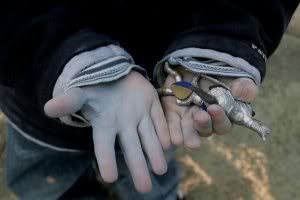
Some heavy machinery 

Stepping stones

And this funky looking red....thing


And that's just the outside toys!

Toy library for us is $60 for one kid for a year, and only an extra $10 for a 2nd kid. 

So to be able to borrow 8 toys every week if I wish (usually we go every 2nd week) it costs our family $70 a year.

Well worth it in my opinion, as at the end of 2 weeks (and often earlier) the kids are 'over' whatever it was that was the 'Best thing ever, mum!' and I am so glad it can go back and not sit around in our cupboards or garage forever.

Do you have a toy library available to your kids?


Is that grass on your scalp?

Have you ever made a grass-head? 

The boys and I put together these little guys after Mr nearly-5 saw them on a tv show.

Aren't they cute??


This is a good activity to do with pre-schoolers and takes very little in the way of materials.

You need a pair of old pantyhose/stockings, some filling for the head (we used cotton wool balls that I unearthed from a cupboard) rubber bands and grass seed. Or wheat grains, which is what we used. Or you could maybe even use brown rice. I did presoak the wheat though for 24 hours, as I was not sure how it would sprout, and I would probably do the same with rice.

Cut a piece of stocking, not the toe part as it's a double thickness and we found our sprouts had trouble pushing their way through it.

Then, put in your grass seeds, followed by your filling. Tie it off just below your filling to make the head.

For the ears and nose, pinch some of the filling so it sticks out a bit and wrap a rubber band around it.

Stick on eyes (not strictly necessary)

Set it in a jar and water it. Place it in a light filled area and water regularly.

Watch it grow.

Ta dah!


The eyes went south when my 'lil fella picked up his head and swung it round by the stocking part that's hanging down.

I think my eyes would pop out too if someone swung me round like that.

And Mr nearly-5 decided if 'lil bro's was eyeless, so was his.

So, blind and hairy.

But fun!


Make your own bubble mixture

My boys came home from a party on the weekend each with a small container of bubble mixture in their party bag. Yay, an outside activity we can do in our miniscule backyard!

Now, kids being what they are, in their enthusiasm to blow the perfect bubble the mixture soon got accidentally tipped out. So rather than cut the activity short and bring them back inside where they would run sugared up havoc in our small house, I made up some more bubble mix and decanted it into their jars.
Several times.

This is the recipe I used:

Bubble Solution
  • 2 cups warm water
  • 1 cup liquid dishwashing soap
  • 1/4 cup glycerin
Mix all ingredients together and store in a plastic bottle or glass jar with fitting lid.


It works a treat and can be made up in advance and kept till needed, and is cheaper than buying small containers of the stuff. I found glycerin in the supermarket, by the medical supplies I think and I imagine you could also find it in a chemist store.

This is also a great activity to keep the kids occupied for........as long as they remember to hold their jar upright.

Ok.


Ooh, might be good for a gift too, pour into a decent sized jar, make a label or tie a ribbon round it.

A multi-purpose recipe, the best kind :-)

Cheap fun on a hot day

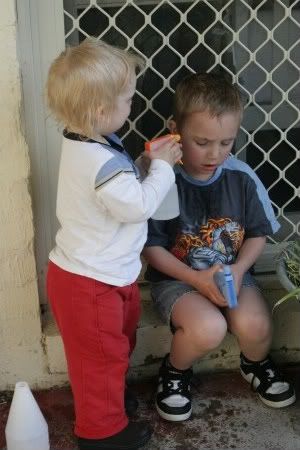
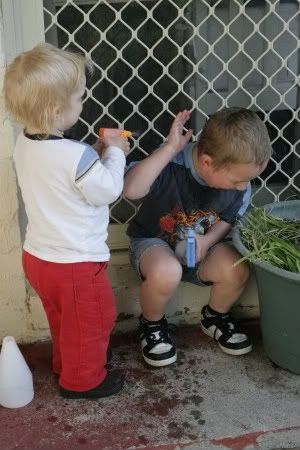
What to do when the weather gets hot? Ok, so it wasn't that hot; 27 c, which compared to what my sis had in Perth the other day is not hot at all. But little boys running round get hot pretty quickly and what better way to cool off than with two mini spray bottles...

Photobucket

Photobucket

Photobucket

You can usually pick these bottles up at the $2 store or somewhere similar, I bought these from the local garden centre.

Woohoo for summer on it's way!

Fingerpaint - how to make it (and how not to)

In an effort to get the kids out from under hubby's feet a couple of weekends ago, I thought I'd give them a go at finger painting. Given our small house, this needs to be an outside activity, the small house being the reason needed to get them out from under hubby's feet.

Ever have those days when you feel you just can't get away from people, and the noise and activity level is enough to just about send you over the edge?
Well, a small house, a cold day, two small, energetic, LOUD boys, and all four of us home because it's the weekend = a recipe for afternoon angst.


So, a quick Google for recipes as it's been a loooong time since I made finger paint when I worked as a nanny. I came up with a cooked version involving cornstarch or cornflour as we call it Down Under, and a quick mix-it-and-use-it version involving flour and water. As I wanted to get the kids outside asap before an explosion happened, I went with the quick version.

Word of advice: do not use a flour and water paste for finger painting.
At least, not if your kids are four and 15 months and are not the sort to sit quietly and finger paint on a piece of paper in front of them.


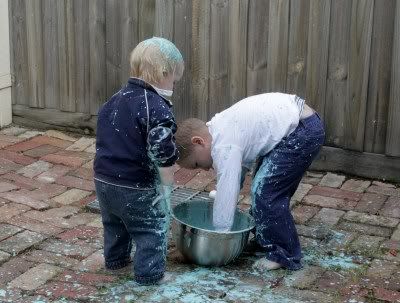
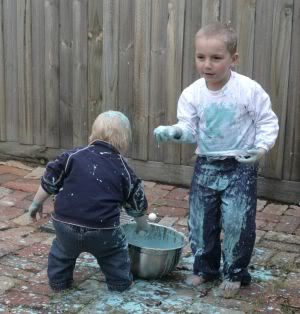
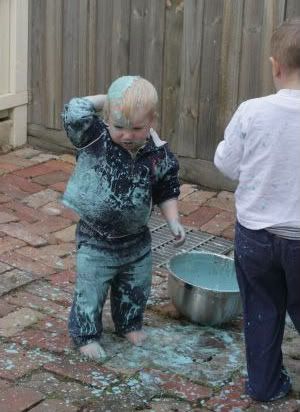
We got outside, hands were tentatively dipped in, then Mr 15 months flicked his everywhere in an effort to the gloopy stuff off them. Right, washing off the line, pronto. Continue.

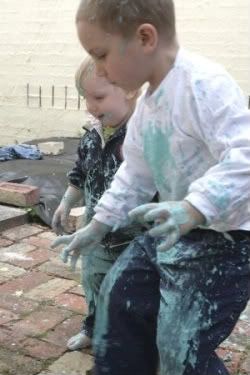
Anyway, you can see the results....

Photobucket

Photobucket

Photobucket

This gloop set like stone on the bricks and on the kids hair. Mr four has a #4 haircut so not much problem there, but Mr 15 months has floaty blonde baby hair and he managed to slap a few handfuls of the stuff on top of his head for I know not what reason. After two shampoo washes enough remained that I ended up cutting it out in clumps after a few days. The clothes all went in the washer for an extended go and I had a half-hearted scrub at the bricks but they remain largely blue splattered.

So, next time I plan to try this recipe, or even this one, though I'm not sure I want my kids eating their finger paint so I wouldn't put sugar in as suggested.

This one suggests using yoghurt, which might be a good idea for the very young who of course have a tendency to eat everything anyway.


Oh well, live and learn, right?
At least the bub is too young to be concerned about his now peculiar looking hair....


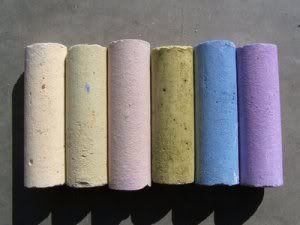
Homemade sidewalk chalk

I thought this was a lovely idea, a use for all those toilet roll tubes that you save but are not allowed to donate to pre-schools any more.

Photobucket

We go through quite a bit of chalk, the kids love decorating the driveway with all manner of creations and the younger one still enjoys chewing it, heaven only knows why. The only thing I need to do before I embark on this project is find out if plaster of paris is safe for chewing. If not, it will a four year old only activity, I know he's going to enjoy actually making the stuff, any excuse to get filthy...

Photobucket

See what I mean? This particular photo will come up again soon as a "how not to....." tutorial. We all have to make mistakes, right? Hahaha, it was funny though....I digress, back to the topic in hand:

Here it is, How to make sidewalk chalk, at Mad Maggie Designs.

Reading through the comments, it could be fun to try out some other odd shaped molds, and be sure to use tempera paint.

Also a good idea for a homemade gift, I know my boys would enjoy some personalized chalk. Especially if it has flavouring added, ha!


Lincraft fabric and yarn sale

If you have a Lincraft near you, it might be worth popping in to see what you can find, fabric is on sale for 50% off, and most yarns for 33% off.

I picked up some fabric sew on patches for the knees of my 4 year old's jeans. I have sewn a few of these on lately and those lil suckers are expensive, so I grabbed a few that were at a discount.

I also bought a few balls of discounted wool for making pompoms.....gee, I'd forgotten how much time goes into making a pompom! Most of it my time, I've discovered, the mechanics of it....and the length of time it takes....are just a tad beyond H's 4 year old abilities.

Oh, and more sidewalk chalk, that is a must have.
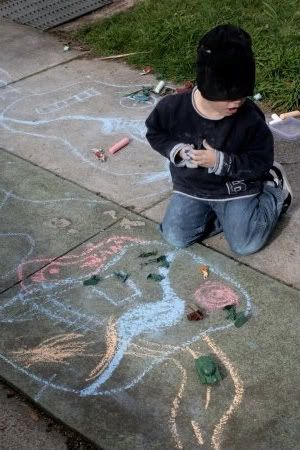
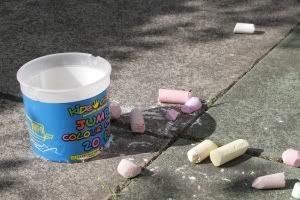
It was paraded out this afternoon to decorate the driveway in the form of an army base...

Chalk is so cheap and versatile,

you can draw with it...


Photobucket


You can get really grubby with it...


Photobucket


Or you can dump it out and use the chalk bucket as a hat.


Photobucket

Only you can decide what's right for you...


What to do with all those old crayons

If you have kids, chances are you have a box of stubby, broken crayon ends somewhere in the house.

Well, drag them out and get busy melting them into something new.
A fun activity for the kids, and if you can dig up some silicone type molds, the end result will be some funky looking new crayons in a whatever shape you....I mean the kids.....desire.

A nice how-to on that can be found at Crafting A Green World.

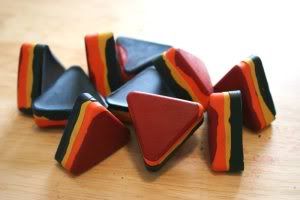
Or you could make layered ones like these....

Photobucket

Find out how these were made on ChicAndJo, a little bit more fiddly than the first ones, but a great looking result.

Either of these would make a great thrifty Christmas gift or stocking stuffer for a young child.
I need to start collecting our crayon ends, instead of letting my 15 month old eat them.

Yes, bad mummy, apparently crayons have petroleum in them so no more blue teeth for him....

My sis just tried these and informed me that her colours separated. Or rather, the colour separated from the wax, leaving the top of the crayon (or was it the bottom?) white and the the other half very intensely coloured.

Mmmm, I wonder why?


Check out your local toy library

These latest finds from our local toy library have kept my kiddies entertained for hours...

Photobucket


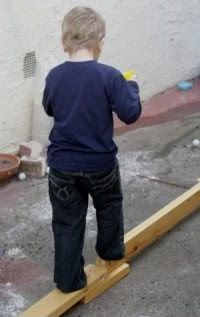
This one is a two piece wooden balance beam

Photobucket


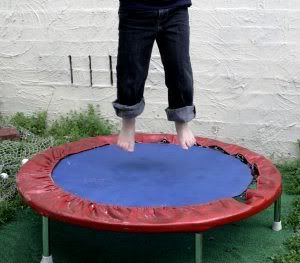
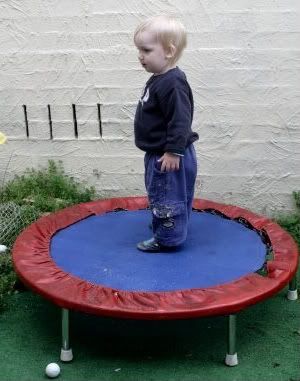
And even the lil guy enjoys the mini trampoline, although at this age his idea of a jump is one foot off the ground at a time, hehe

Photobucket


The toy library costs us $60 a year, plus one duty morning every term.
I love it because it allows us to borrow large things, that I don't have to have hanging around forever. If it's taking over half the lounge, or half our minuscule backyard, I can put up with it for a while because I know its gotta go back eventually.

Inexpensive entertainment and a great way for the kids to wear themselves out, yay!

Check out what your local toy library has to offer.


Free and cheap kids activities

Do you need some creative activities for you and the kiddies? Want to get your young ones out from in front of the tv? Here is one person's collection of free and cheap ideas to keep your kids entertained without breaking the bank. Sometimes you just need to be reminded of what you can do.

One of my favourite activities is sidewalk chalk.

Photobucket

Take it out on the driveway - create a base for soldiers, draw an underwater scene - sharks, whales, octopus, starfish, draw outlines of the kids and fill them in, draw a garden, create a story with a series of pictures....the possibilities are endless. You can even feed it to them, well, my one year old walks round with a chunk of it in his mouth at every opportunity....


Kids activity for a rainy day - no cook playdough

A good frugal/thrifty activity for the kids, playdough is a must for every household with small children. Usually I make the cooked variety but my sis, the Slightly Mad Quilt Lady, has posted a no cook playdough recipe on her blog that is even easier to make and less messy too.....no sticky pot to scrub out (ha, have I mentioned before that I'm lazy??). What else can you do with the kids when the weather is too icky to get outside? Well, a few mind numbing options come to mind, but this option is the best one....


Photobucket


Oh, and don't forget to read what the Slightly Mad Quilt Lady says about playdough and chickens....


Gingerbread men/women/witches....whatever you fancy!

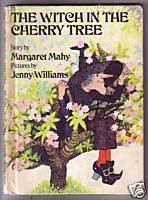
My favourite gingerbread cookie recipe comes from the book The Witch In The Cherry Tree,

Photobucket


by Margaret Mahy. It's a cute little story and inside the back cover is a recipe for gingerbread witches. It never fails and is great for making a double batch of dough with, the dough freezes well and so do the baked cookies.


Gingerbread Witches
(obviously you can cut them into any shape you like)

115gm/4oz butter
1/2 (packed) brown sugar
2 cups sifted flour
1 teaspoon baking soda (bicarb soda)
3 teaspoons ground ginger
1/2 cup warmed golden syrup or molasses

  • Beat the butter and sugar together until light and fluffy.
  • Mix in dry ingredients and syrup till you have a dough.
  • Knead till smooth.
  • Roll out on a floured bench, cut into shapes.
  • Place on greased tray and bake at 175c / 350f.
These can be kept simple for every day use, or dressed up with decorations and icing for special occasions. My four year old loves to help me make these, as he tries to snaffle up any off cuts before I see him....he doesn't yet know that mums have eyes in the back of their heads!